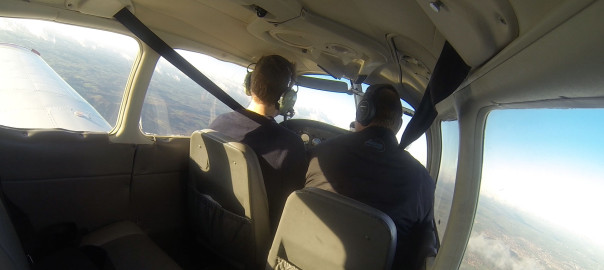
The sun was out, the sky a vivid bright blue, and the wind calm. One of the best weather days since I’ve started training. Perfect conditions for stalling part 2, which requires altitude (at least 3,000ft above ground level to recover). In stalling part one, we practised stall recovery from a clean configuration – eg. flaps retracted, no power. So this lesson, we’d be exploring the different stall characteristics in various configurations, and learning to how to recover.
The aircraft had already been A-checked and fueled, so we taxyed and headed straight out. We climbed to 5,000 ft (QNH) and found a nice, clear area of countryside outside Worcester which was perfect for our needs and complies with the ABCD requirements of the Location part of the HASELL checks – clear of Airspace; clear of Built-up areas; clear of Crowds; clear of Danger areas. The view today really was glorious – we could see for at least 100miles all around, including the towerblocks of Birmingham, the Severn Bridges and beyond. Beautiful and a nice change from the now familiar view within the circuit.
First off, we revisited the stalling characteristics in clean configuration. The stall warner starts to sound at around 55kts, followed by buffeting at 50kts, followed by the nose dropping and the actual stall taking place shortly thereafter.
With two stages of flap (25 degrees), the stall warner sounds with a lower nose attitude and at the slower airspeed of around 45kts. There’s less buffeting (because of the slipstream effect) and the nose doesn’t drop until around 40kts – quite a bit lower than the plain config.
With two stages of flap and a low-ish RPM setting, the stall warner sounds at around 50kts but with a much higher nose attitude and the buffeting is all but masked by the slipstream.
As usual, the standard stall recovery is to lower the nose. Apply power as a secondary measure to minimise height loss during the stall.
Next, we practiced stall recovery whilst in the approach configuration – 1500rpm, 25degrees of flap, turn and extend full flap. Then we stalled in a simulated turn to final approach. When the drag flap is down, the standard stall recovery still applies – lower nose, power, carb heat, followed by drag flap away. Then once a positive rate of climb has been established, retract the remaining flaps in stages.
All done and dusted – fairly straightforward so we headed back to the airfield. I used the opportunity to practice the standard overhead join, where you fly over the active runway at 2,000ft above airfield elevation (QFE) and descend on the dead-side in a turn, so that you cross the other end of the active runway at the normal circuit height of 1000ft. From then on, you’re in the standard circuit pattern.
